Carpet burns can be an eyesore and might seem like a significant issue, but with the right tools and techniques, you can repair them effectively. Whether the burn is small or slightly larger, this guide will walk you through the process of fixing a burn in a carpet, restoring its appearance and extending its lifespan.
Materials and Tools Needed
- Carpet scissors or a sharp utility knife
- Tweezers
- Adhesive (carpet glue or double-sided carpet tape)
- Seam roller
- Carpet patch (a remnant of the same carpet, if available)
- Vacuum cleaner
Step-by-Step Guide to Repairing a Carpet Burn
Assess the Damage
Trim the Burned Fibers
For small burns, use carpet scissors or a utility knife to carefully trim away the burned fibers. Be cautious to only remove the damaged parts and avoid cutting the undamaged carpet. Use tweezers to pluck out any remaining charred fibers.
Clean the Area
Vacuum the area thoroughly to remove any debris, loose fibers, or dirt. This will help the adhesive bond better in the subsequent steps.
Prepare the Replacement Fibers or Patch
- For Small Burns: If the burn is minor, you can use fibers from an inconspicuous area of the carpet (like inside a closet) to fill in the damaged spot. Carefully cut out a few fibers to match the surrounding carpet.
- https://qaaleen.com/can-outdoor-rugs-go-on-grass-exploring-the-benefits-and-best-practices/For Larger Burns: If the burn is extensive, you’ll need a carpet patch. Cut out a small square or rectangle around the damaged area using a utility knife. Make sure the cut is clean and straight.
Cut and Attach the Patch
If using a carpet patch, cut a piece from a remnant or an inconspicuous area that matches the size and shape of the cut-out section. Apply carpet glue or double-sided carpet tape to the backing of the patch and press it firmly into the hole. Ensure the fibers of the patch align with the existing carpet fibers for a seamless look.
Attach Individual Fibers (for Small Burns)
For minor burns, apply a small amount of carpet glue to the base of the burn mark. Use tweezers to insert the replacement fibers into the glued area, pressing them in gently. Allow the glue to dry completely.
Blend the Repaired Area
Use a seam roller to gently blend the repaired area with the surrounding carpet. This helps to integrate the fibers and make the repair less noticeable.
Vacuum Again
Once the adhesive is completely dry, vacuum the repaired area again. This will help to lift the carpet fibers and further blend the repair with the rest of the carpet.
Tips for a Successful Repair
- Match the Pile Direction: Ensure the pile direction of the patch or replacement fibers matches the rest of the carpet to avoid a noticeable difference.
- Test the Adhesive: Before applying glue to your carpet, test it on a small, hidden area to ensure it doesn’t discolor or damage the carpet.
- Use Sharp Tools: Always use sharp scissors or a utility knife to make clean cuts, reducing the risk of further damage to the carpet.
When to Call a Professional
Preventing Future Burns
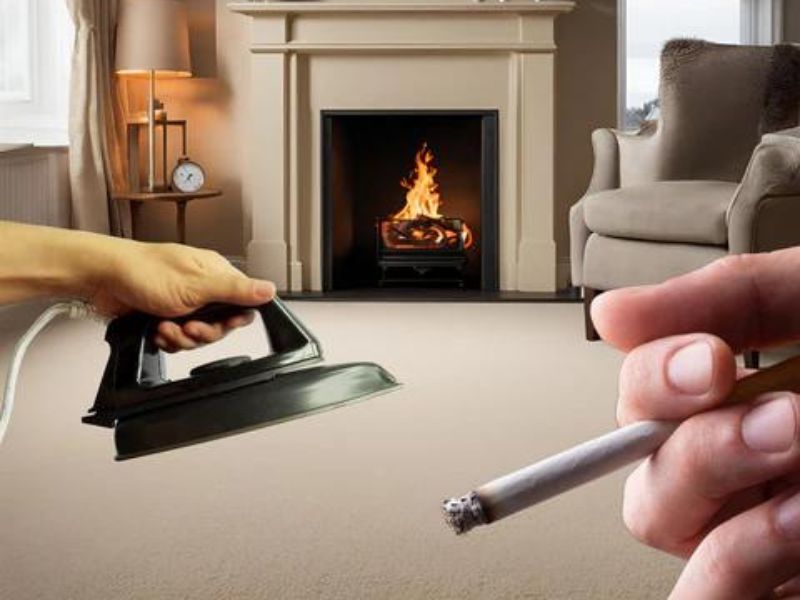
- Use Mats and Rugs: Place mats or rugs in areas where burns are likely to occur, such as near fireplaces, around the kitchen, or in smoking areas.
- Handle Hot Items Carefully: Be cautious when handling hot items like irons, hair straighteners, or curling irons around carpeted areas.
Conclusion
Repairing a burn in your carpet is a manageable DIY task with the right approach and materials. By following these steps, you can effectively restore the appearance of your carpet, saving you the cost of replacement. Whether dealing with minor singes or more extensive burns, patience and precision are key to achieving a seamless repair.